
 Welcome.......It's a party today. Artsymama is at it again. She has invited all to a virtual Artful Blogger Party. She is serving cake and invites you to her studio for "a very quick and easy craft".
To participate, bloggers were invited to post something "artful", maybe a how-to or tutorial and then let her know. She has everybody linked up so you can just go over and blog around the world today and enjoy all the parties.
 So, I decided to share with you a little inspiration today. I showed you "Timothy" back in late June but never managed to get back and tell the rest of the story. So here is the "how-to" with a little background about the way this came about.
I had been painting journal pages with my daughter and granddaughter in my "A Long Time Ago" journal. That is the one that is kind of a scrap book journal in that I use photos in the art. So it was time to do a "Timothy" page.
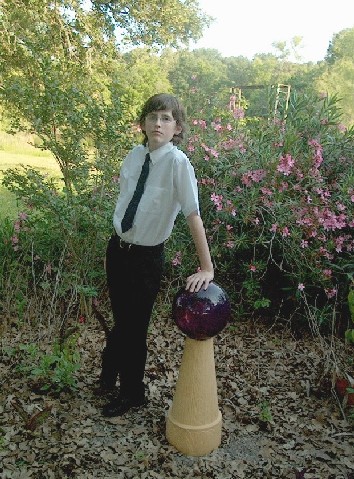
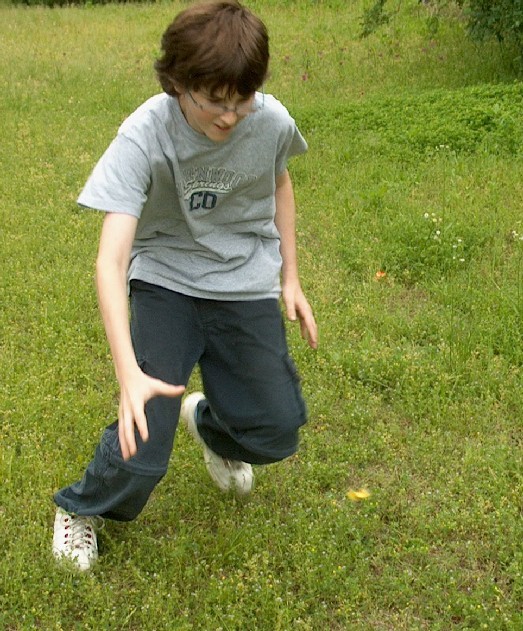 I selected several recent photos of Tim in action. You know, Tim just being Tim. One was a series of him chasing a yellow butterfly. Really cool action shots. Another was of him all dressed up after attending his big sister's graduation. Tim struck the pose with the gazing ball. Tim being, Tim the Model.
Using plain copy paper and my ink jet printer, I printed the selected images. I printed many different sizes. I cropped some and printed just the head or hands. I printed mirror images of some.
Here is the key to this fun bit of mixed media magic: Don't try to plan the composition ahead of time. Give your muse free reign. Just have the plenty of copies of the pictures that she might use. Next, cut out the pictures. If you are concerned about the ink jet running, I have found that you can seal the print with a layer of Golden's Soft Gel Gloss (not matte).
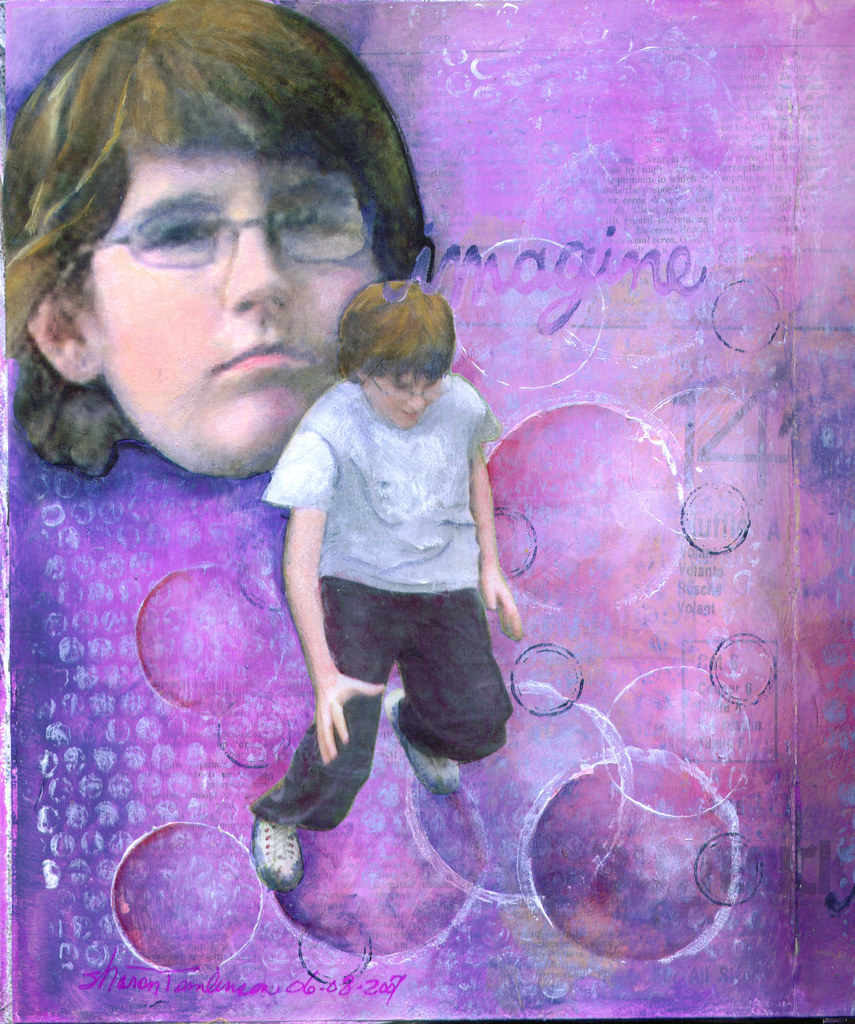
Paint your background. In this one I was drawn to the ball shape and so I used that element in the background. I used bubble wrap to stamp with and then anything circular that I could find at the moment. I did some collage of various papers and stuff. Let the background dry.
Here's the fun. First, send the inner critic, the one with all the expectations out the door. (If you've attended my workshop...you know how to do that) Then, invite your muse to play with the pictures that you have prepared. Start moving the prepared images around on the background. Play with the possible compositions and let magic happen. You will not end up using all of the prepared photos. When the magic happens, glue it down.
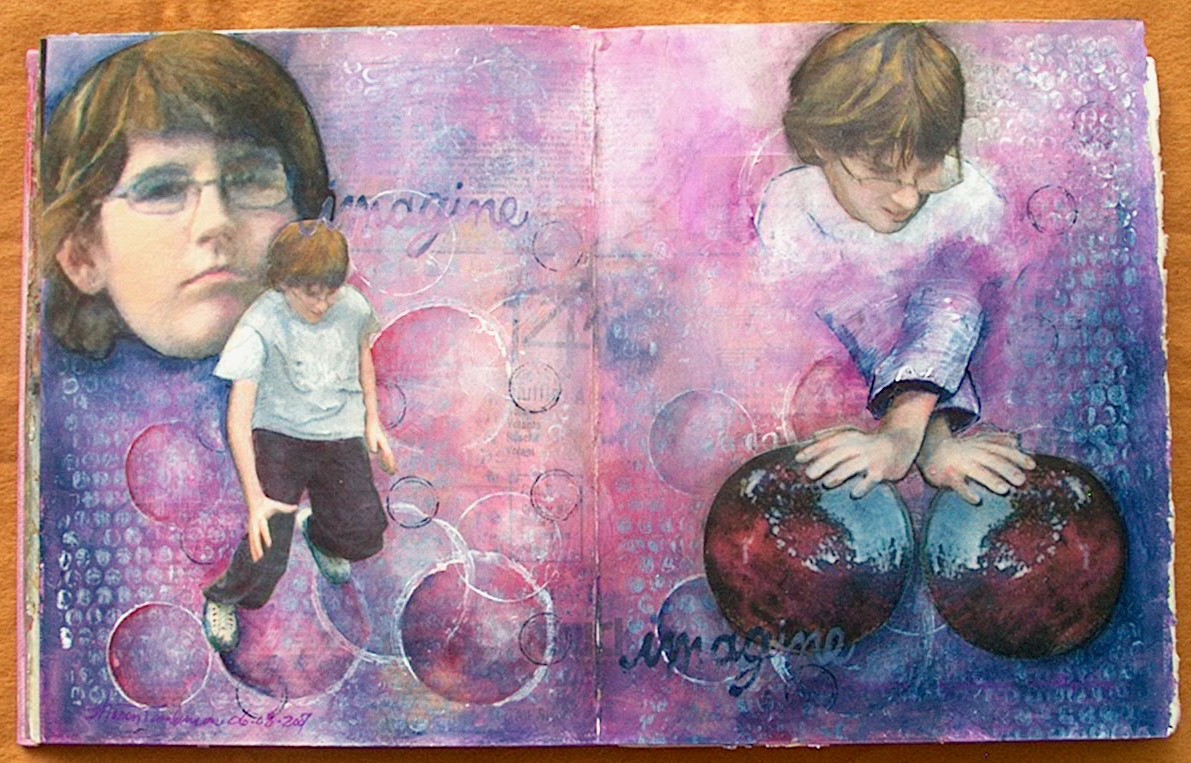
You may not wish to paint on the pictures but do give a few highlights or outlines to incorporate the image with the background. As you can see, on the left side of the spread, I used the head of one photo and the hand of another. The part in between is painted.
I really liked how each side of the spread was a complete composition and could stand alone and yet together told another story. This is one of my favorite pieces. Also, isn't it cool that little boys can make really cool pages too.
Chasing Yellow Butterflies
I hope I have inspired you to give this a try. It is really fun to Imagine and tell a bigger story with your photos.
If you do try....please, please, please show and tell and let me see too.
OK, I've got to get back to this desk. The party is over for me but do stay and enjoy.
More later,
Sharon
thanks for the show and tell...these are lovely pages...i love the circles...blessings, rebecca
ReplyDeleteI love how it all looks so dreamy. Fabulous as ever. Thanks for sharing so much of the process as well as the art. I've learned so much from your blog and from Norah. And I like that crystal ball garden ornament too.
ReplyDeleteI love the look of these!
ReplyDeleteLove your style! When I did a City and Guilds course last year I was told I was not planning enough ... I've become an in-between now... some spontaneous some totally teacher's pet! I'll have lots to play with with all the holiday photos.
ReplyDeleteThanks for the tutorial. Love your ideas! Like you said don't plan just go with the flow.
ReplyDeletethank you for this idea! I love to scrapbook but not the normal way and this I will definately try!
ReplyDeleteI admired those pages and wondered how you created them. Thanks for explaining! Another treasure from Norah... I hope to attend one of your workshops so that I can learn how to send the inner critic out of the door. What an interesting idea!
ReplyDeleteAmazing, you have a true talent :))
ReplyDeleteI'm just now getting around to visit everyone. Such a beautiful post you have and I do love that you did pages for Timothy. You are right, a "boy page" is rare. What a treature this will be. Thanks for stopping in at my party. . .now I am off to the next one!
ReplyDeleteI really enjoyed your tutorial. It was so full of ideas for me and now my muse is up and dancing. Thanks.. I've been trying to wake her up all day. :)
ReplyDeleteThis is fab! He looks like a wizard om the RHS :-) Thank you for sharing such a wonderful technique
ReplyDeleteYou always incorporate your photos in your art in the coolest ways!
ReplyDeleteHave a wonderful day.
I love how your Tim posed for you. Reminds me of my own silly boys... er, men. They're mostly grown up now. Hmmm. I guess they're always boys on some level.
ReplyDeleteANYWAY, that's the hardest part for me, letting the muse take charge and not being all Miss PlannyPants. Thanks for the reminder to just let the magic happen.
And speaking of magic - Tim reminds me a lot of Harry Potter.
I will have to file this under "must try". I adore circles and swirls and spirals.
ReplyDeleteThanks for sharing this or should I say thanks for "sharon" this. lol!
XOXO
What great techniques, thanks for sharing!
ReplyDeleteI'm a little slow getting to all the parties... This is beautiful! I do digital collage like this, it's alot less mess ;) but not as tactile.
ReplyDeleteCrimmeny you do such gorgeous work Sharon!!!! Thanks so much for sharing!
ReplyDeleteSharon, I love your (and Norah's) work. I found your site from my friend, Kathy Was's blog. I love your bags, the piece with Tim on it. Everything!
ReplyDelete