You might like to go to this post, Do You Remember the Sisters? for the beginning of this tutorial series. Then, The Cello Sketch for the next installment. Or just scroll down.
I was very anxious to see how the technique with permanent marker and alcohol would work on canvas.
But first, I wanted texture or rather I didn't want much canvas texture. I used Golden's Light Molding Paste #03575 to prep the canvas, as well as, multiple coats of acrylic, and gesso.
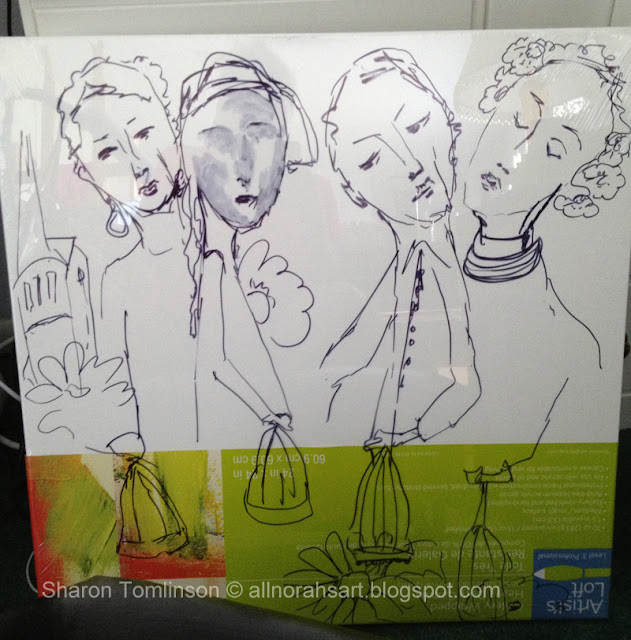
After I did my quick Sharpie permanent ink sketch (above), I heard that little voice that said, "this is not going to work" and "why did you need to try it anyway?"
I knew immediately (when the light bulb when on) that since I had prepped the canvas with acrylic products, the alcohol would start to dissolve those products instead of moving the ink around on top as it did on the cellophane.
That is exactly what happened.
As if that wasn't bad enough, I knew the Sharpie marker would bleed back to the top. However, I thought I was in control of where and how much would come through.
That was the part I was excited about.
Anyway, fighting failure, I painted layers and layers of paint and gesso, I eventually painted black gesso over it and left it for several days before I once again painted a layer of grey acrylic just to see if the sharpie marks were coming back.
They didn't!
Why?
By this time, I knew I wanted to use the girls from the cello sketch because I loved their personality.
And since this was inspired by the "sisters" from long ago, I decided to use the transfer technique just as I did the series long ago.
I scanned the cellophane sketch, printed and cut apart the faces. Above pic shows the beginning of another preliminary on paper. This was to get the placement and scale using only three of the girls.
Once I decided which three girls, I had to flip the images horizontally and print a copy of the size I needed.
I used my laser printer but ink jet works just fine too. I brushed the print with Golden Regular Gel (Semi-Gloss) #3040 and placed the faces in position ink side down. Then I use a stiff edge like a credit card and squeegee over them to make good contact with the canvas. After is sets for a little while, I use a slightly damp cloth and rub over the print. That is the stage above where the image begins to show through.
Using my finger, I gently rub off the paper layers....slowly.....but surely until...
...all the paper is gone. If a little paper fuzzy remains, I lightly sand over it before sealing the transfer with Golden Matte Medium #3530. In the photo above I have started painting with white paint.
One more thing, before sealing, I like to work the edges of the transfer a bit with the damp cloth and my finger to blend the hump of medium with the canvas. This is not necessary. I just don't like seeing the edge.
Work-In-Progress
.....to be continued.
♥


