
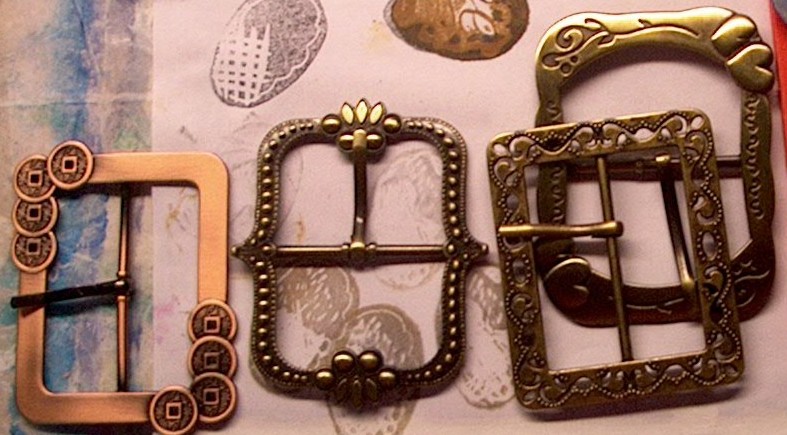
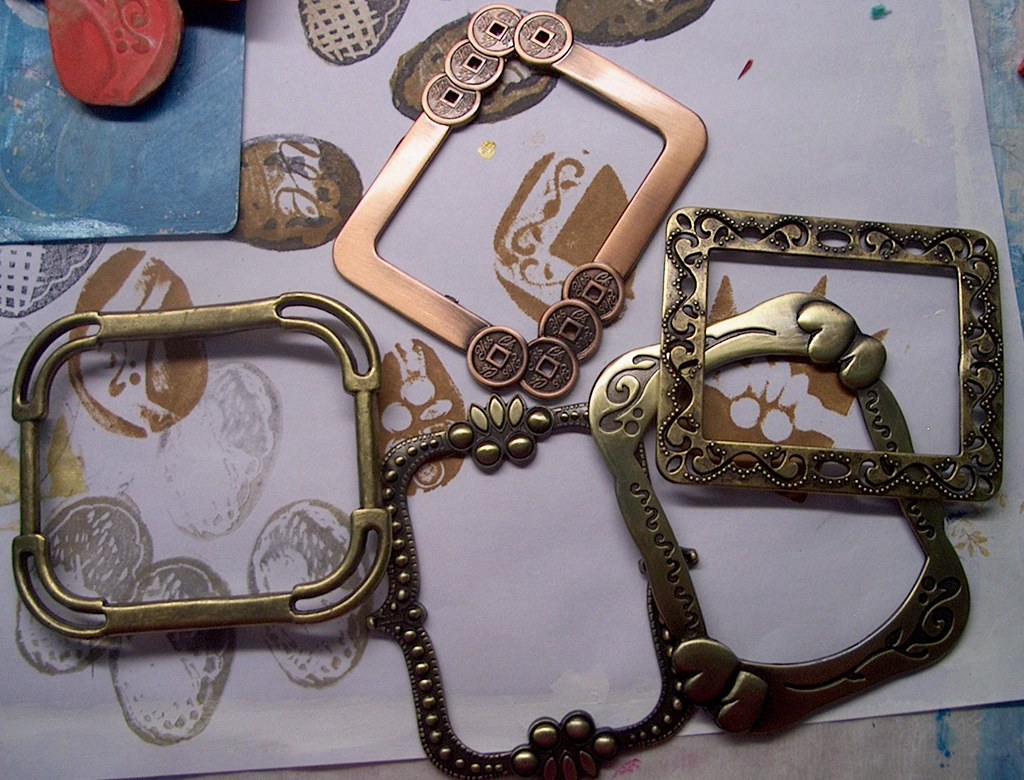
I found this great bargain on metal buckles at Wally's World for $1.00. I had a great idea about what to do with them.
alter them of course
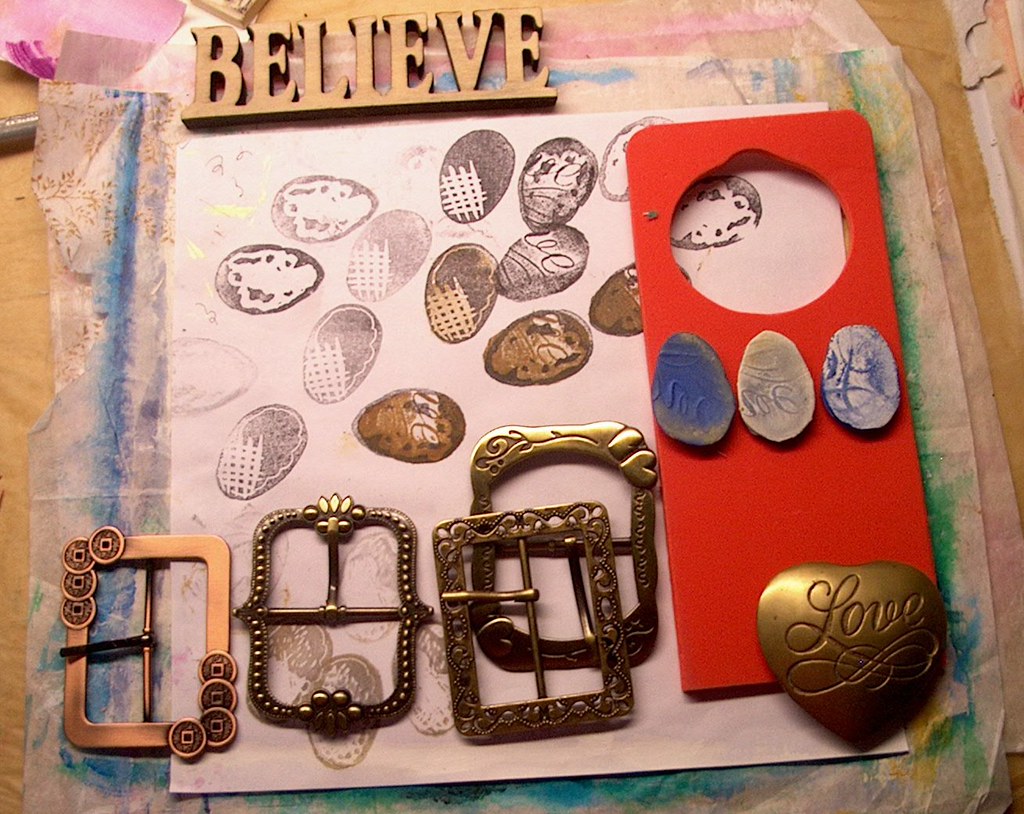
In case you haven't noticed, I've been into eggs of late. I still am. It all started with the photos of my bird nest boxes with eggs. I believe ever bit of art that I have created since then has had eggs. Last weekend I needed an egg stamp or stamps and Wally's World just doesn't carry Michelle Wards beautiful stamps. That's the shopping options here, Wally's World or H E B Grocery.
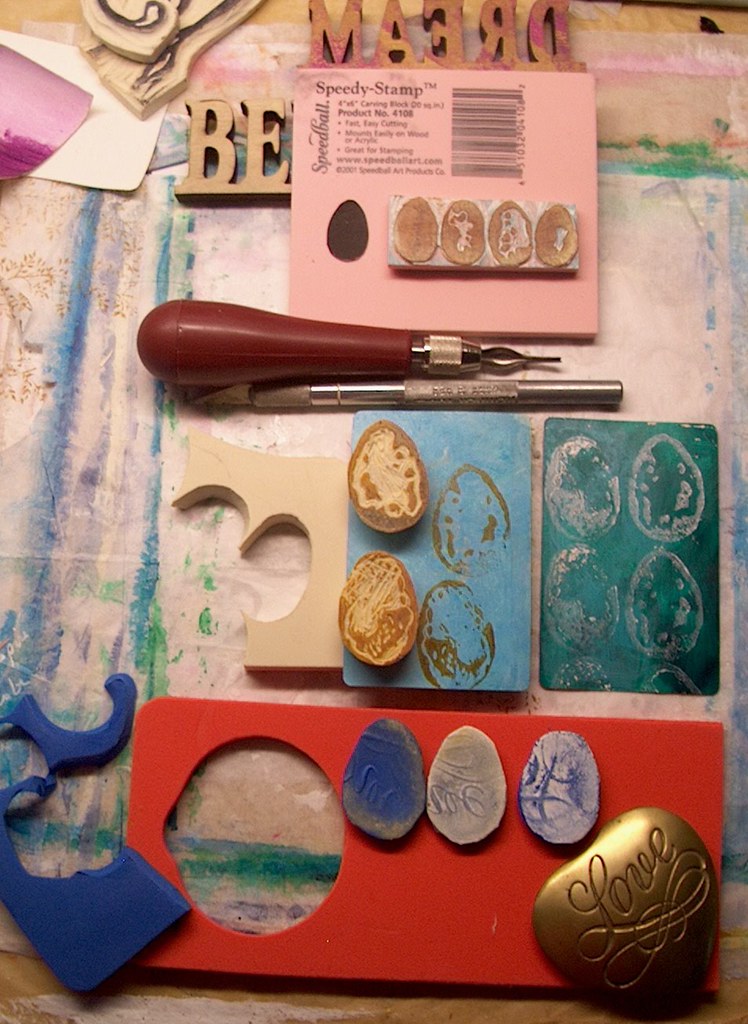
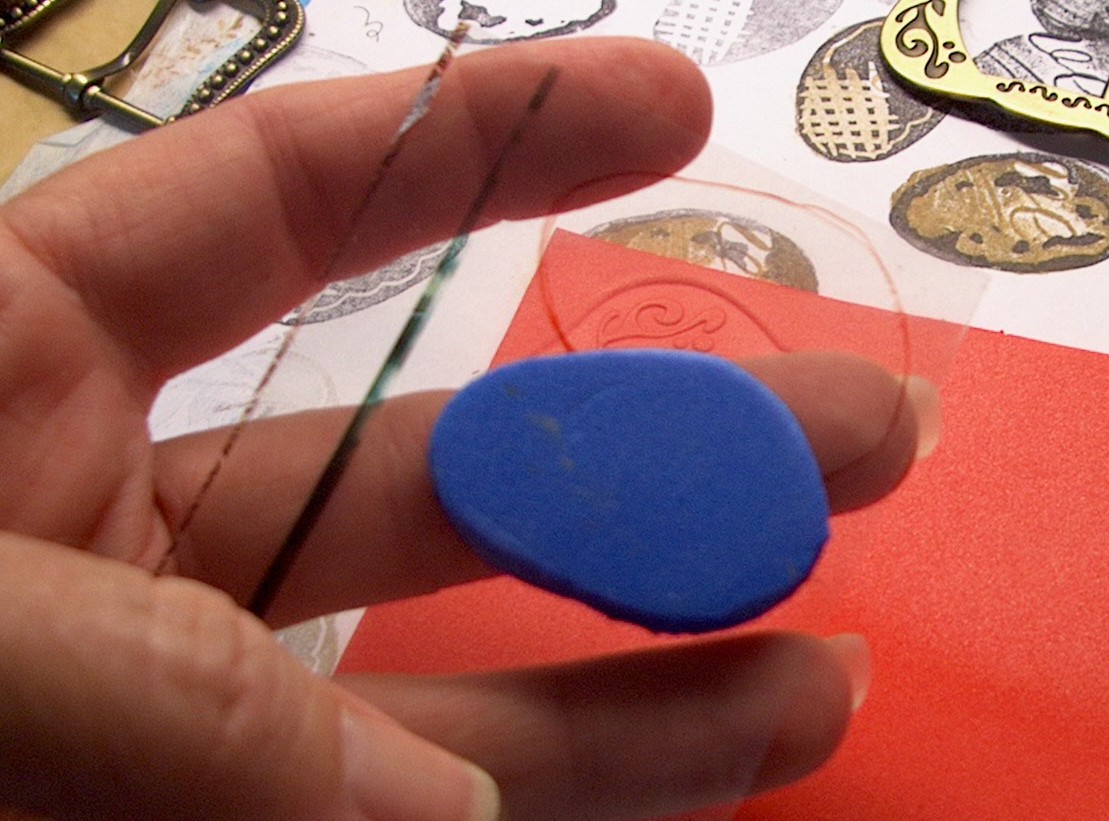
So, having a little bit of rubber stamp carving supplies on hand, I get it out and very quickly carve two different sizes. One thing always leads to another and I remember the blue foam that I had and thought I would also cut out an egg shape from that. It already had a bit of design impressed in it and made a great egg stamp.
So here is what you will need:
Foam door knob hanger from craft department
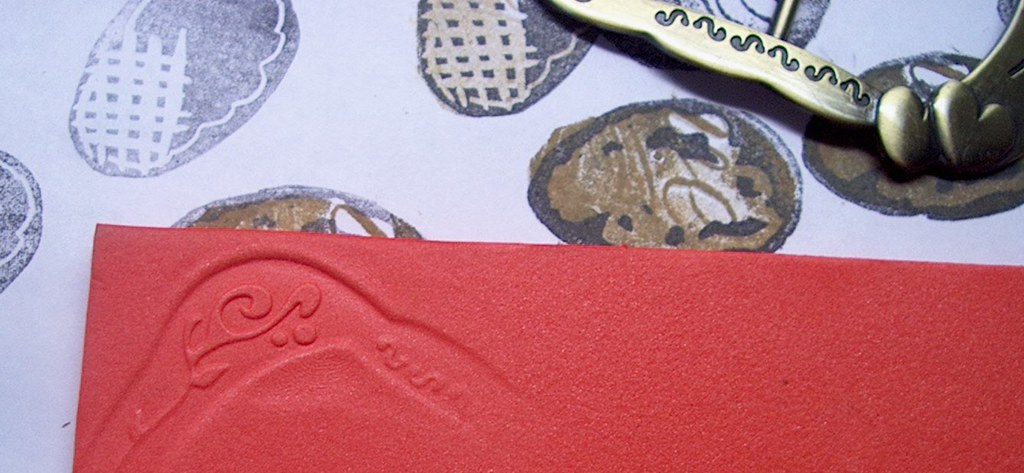
Anything metal that has a design in it like the brass heart or bargain buckles
Heat Gun
Small piece of transparent plastic
Scissors and Pen


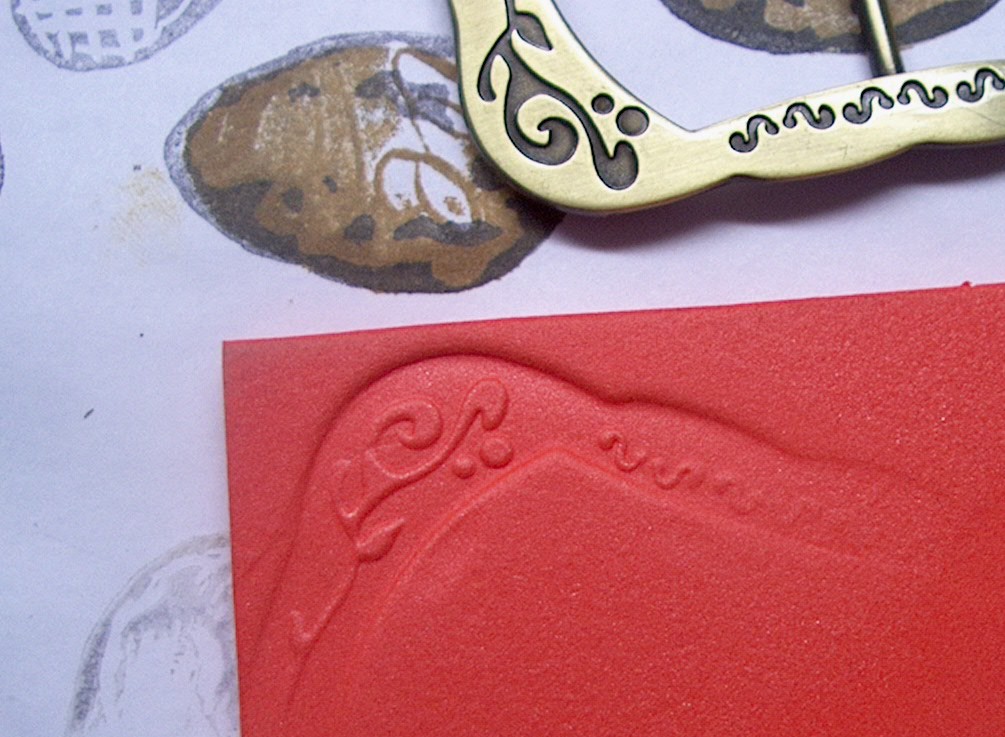
beeuteefull !!!
But if not, just reheat the same area and the impression will go away and you get
do-overs !
When I made the first stamp I just drew an egg shape on a piece of paper and drew around it on the foam. Today while working on the tutorial, I remembered a little piece of left over transparency floating around in the work area and thought if I made a template with it, I could see through it to audition where on the egg I wanted the design. 

But, one thing always leads to another ............
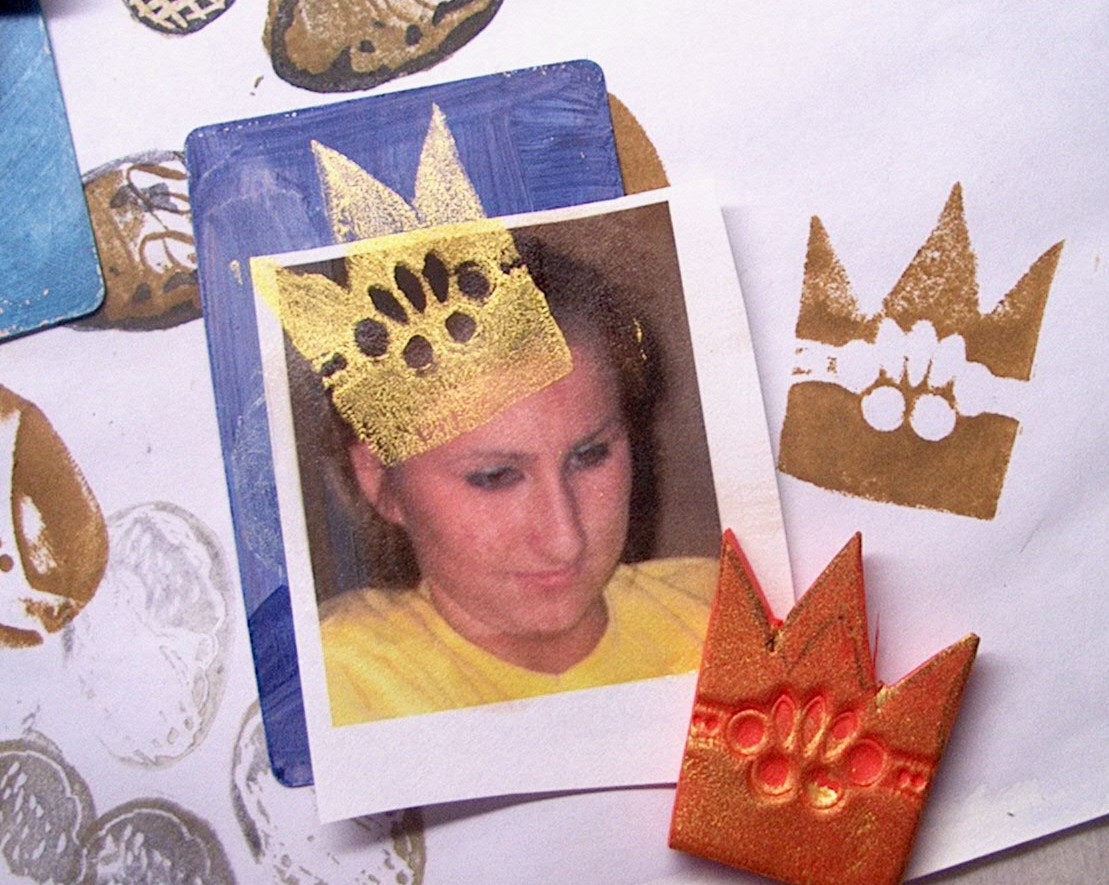
2. she dug around in the photos left from Ashley's egg page and grabbed one
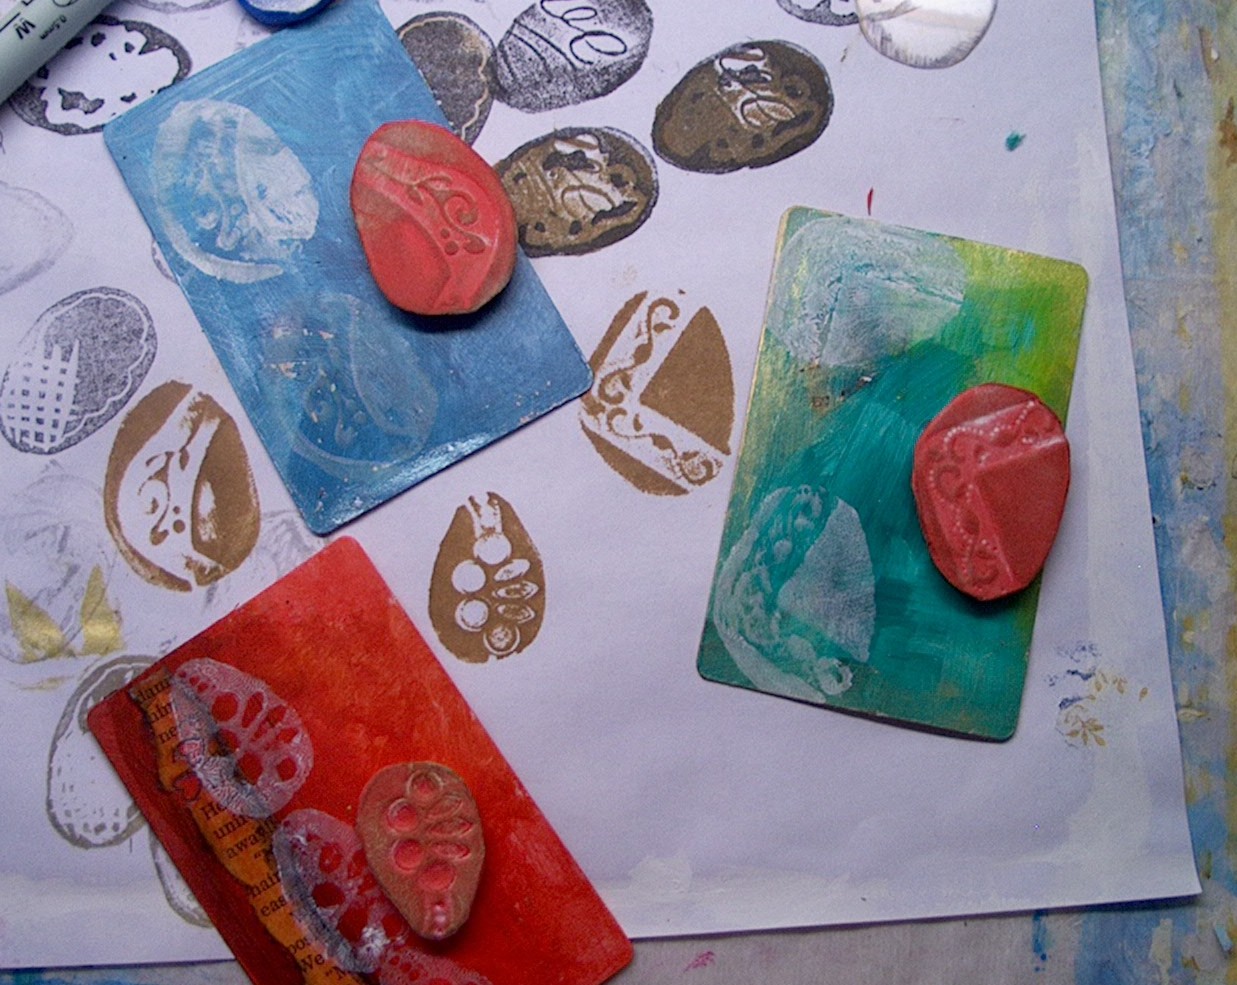
3. she reached for a little bottle of Lumiere Metallic Acrylic and
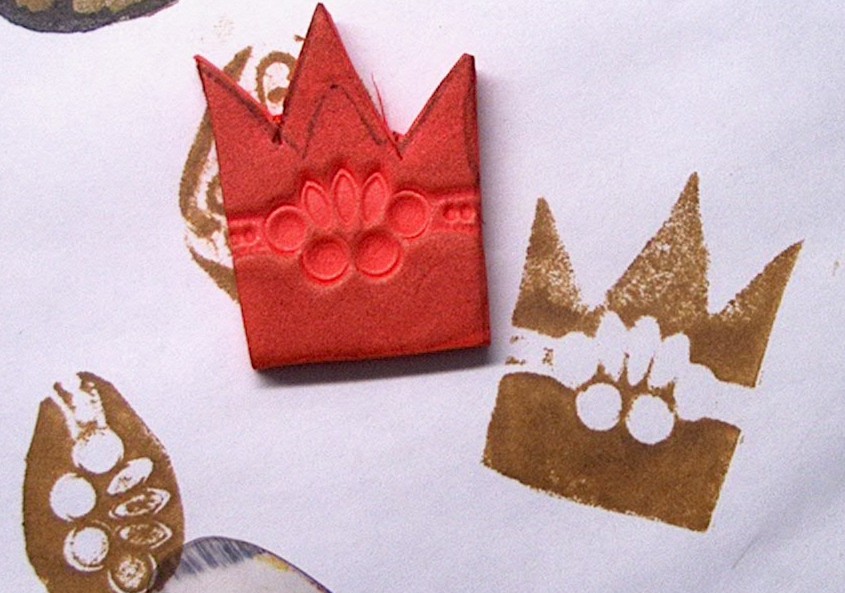
4. she stamped the crown on
(dummy, it went off the edge and doesn't even look like a crown)
5. she grabbed a painted card
6. she laid the picture on the card and stamped the crown again
(yes, I like it)
7. She liked it....and said, " take photo" and
8. she turns the tutorial back over to me
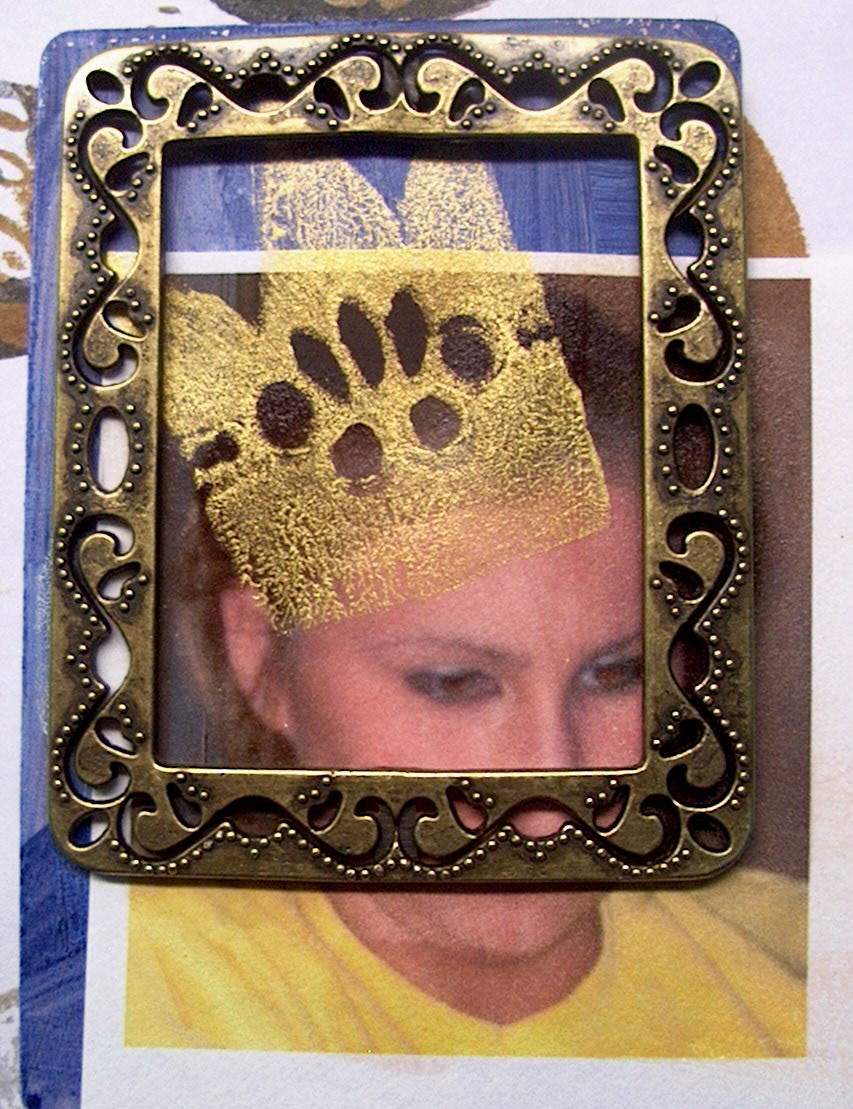
and I continue. But now in this moment, I find it incredible to discover the blue and yellow complementary colors and I really like the way the crown goes off and creates layering opportunities. The point I am trying to make is that I was totally in the moment and enjoying the moment and not judging what I was doing. I was just doing it. I had no expectations and there were no little voices in my head saying no no no, what if it is wrong...etc. .............and

Yes indeed, time to clean up.
More later,
Sharon
Great ideas! I'll have to try them. Thanks so much!
ReplyDeleteWhat a fabulous idea Sharon, I love the stamps and the buckle frames. Thanks for sharing these with us.
ReplyDeleteI love the art in the previous post too
Ro
xo
I love to read about your creative process, and your tutorials are always great! Thanks so much for sharing!
ReplyDeleteThanks so much for taking us through the steps! I have some old belts that I was going to take to the goodwill but will now make stamps out of them first and then possibly alter them in some way! You are so talented!
ReplyDeleteThank you (and Norah) for the wonderful tutorial! This could easily be an article in one of the magazines we all love... I would have never thought to use belt buckles like that. How ultra creative! xo
ReplyDeleteYou had a lot of fun and for us a lot of things to learn from! Thank you!
ReplyDeleteWell, aren't you the smarty-pants! I just LOVED reading this tutorial! I have to say that your egg stamps look better than some that I've seen on the market. Thanks so much for sharing this step-by-step process with us! This is definitely something that I'm going to try!
ReplyDeleteWhat a great tutorial Sharon. You are so clever! Thanks!!
ReplyDeleteOOH, I love this idea. I was just given 2 sewing kits that have old buckles in them this past weekend. I knew I could use them in my art but not this way, thanks for the details!!!
ReplyDeleteI stumbled across your blog today and would have to say it was meant to be.
How creative and clever!! Thanks for sharing and Happy Tuesday!
ReplyDeleteAren't you clever!!!! Thank you so much for sharing this. May I post my results with a link here on my blog so others can learn the technique? Frames from buckles! Genius! Love, Jamie
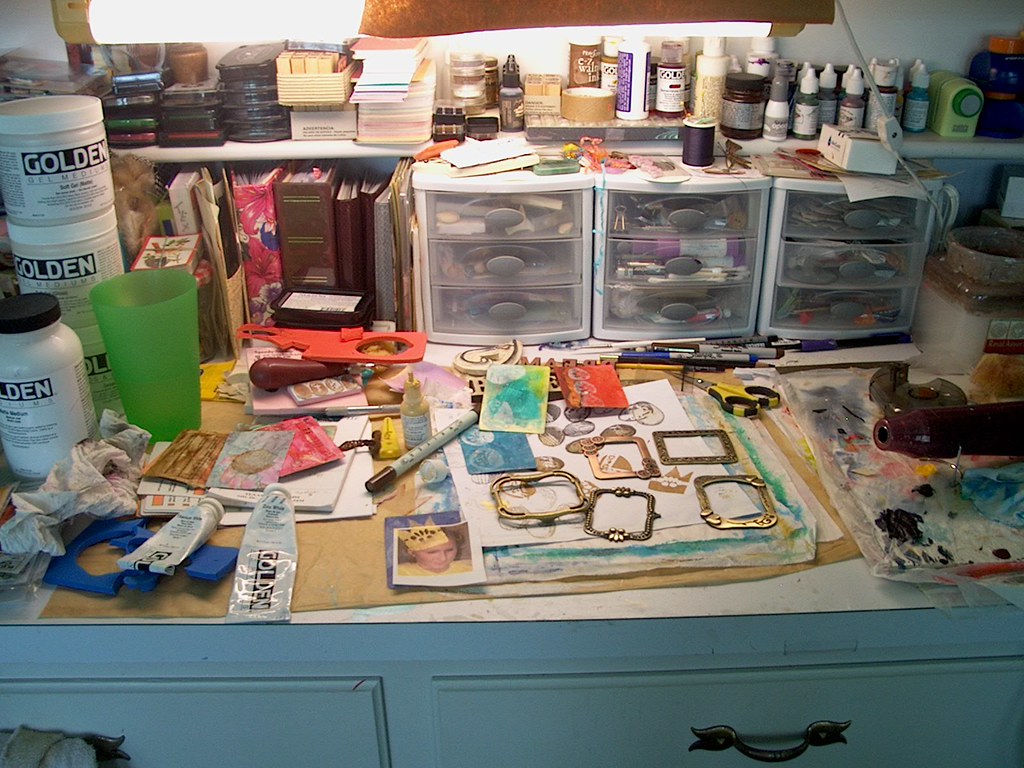
ReplyDeleteNow, THAT's what I'm talkin about!!! What a great idea! Buclkes as frames AND a stamp tutorial! I never ´knew half the stuff you just taught me! Thanks so much for sharing! PS...what a stash of Golden you have going on there!
ReplyDeleteThanks Sharon! I can't wait to give this a try. I might sit the boys down and let them do some too:) I read your comment abou the ledgers. I do not use that ledger, but I do have some that are falling apart and are already missing pages, so I don't mind using those. I used a loose page from my favorite ledger for the finished piece in my transfer tutorial, but I didn't glue anything down and the page went right back into the book when I was done:) Crazy, I know:) I am thinking of putting together some ledger packets. I know they are hard to find. Have a wonderful day sweetie! Love,Jamie
ReplyDeleteSharon - just stunning! Great play-by-play tutorial. Clever and generous.
ReplyDeleteWonderful Ideas, and some really great tips. Thanks for posting them!!
ReplyDeleteThat's brilliant - thanks for sharing! I'll be playing with foam and my heat gun very soon.
ReplyDeleteLove those buckles - and what great ideas you have - so thoughtful of you to share! Thanks for the blog comments too - you always leave such nice ones.
ReplyDeletewhat a tutorial!!!!! - thanks so much!!! - old jewelry will work as well - buckles, pins, broaches, etc., - things from nature - skies the limit!
ReplyDeletexox - eb.
Thanks for your generous spirit, it took some work to produce that tutorial for us.
ReplyDeleteI'll be looking at dimensional things in a new way. Guess I'm going to have to break down and buy a heat gun.
Darla
Norah's just made MY day - what a wonderful delight - now THIS is my kind of mail AND it will find place of honor in new fantasy travel journal
ReplyDeletewill delight in cooking up something yummy for Sharon
xox - eb
Oh my! Eggs and polka dots! My favorites! I have been searching for an egg stamp...no luck....this looks like such fun!!!! Thank you my dear...and a polka dot groove...absolutely!!!! Tell me more!!!!
ReplyDeleteThanks so much for stopping by! I so enjoy visiting your place. So inspiring and free spirited!
smooches!
J
Sharon........Thank you so much for your tutorial:):):) I had seen some expensive foam like that in little packets but when I went back they were all out! I thought it was something special and never gave a thought to the foam you were working with! GREAT!!!! Your eggs are spectacular and so much better because they are original:D Love the buckle frames.....wouldn't they be nice on the cover of a small book!
ReplyDeletehi sharon, love the displays of your work. the stages of processing are beautifully done.
ReplyDeletelooking forward to your next post.